
PLAN ZZP app guide for businesses

1. Installation & account selection
2. Registration account
3. Login account
4. Forgot password
5. Try for free
Nooit meer dubbelboeken
Uren worden zelf ingevuld
Tijdig zien of projecten uit budget lopen
Bij regen kun je direct herplannen
1. Installation & account selection
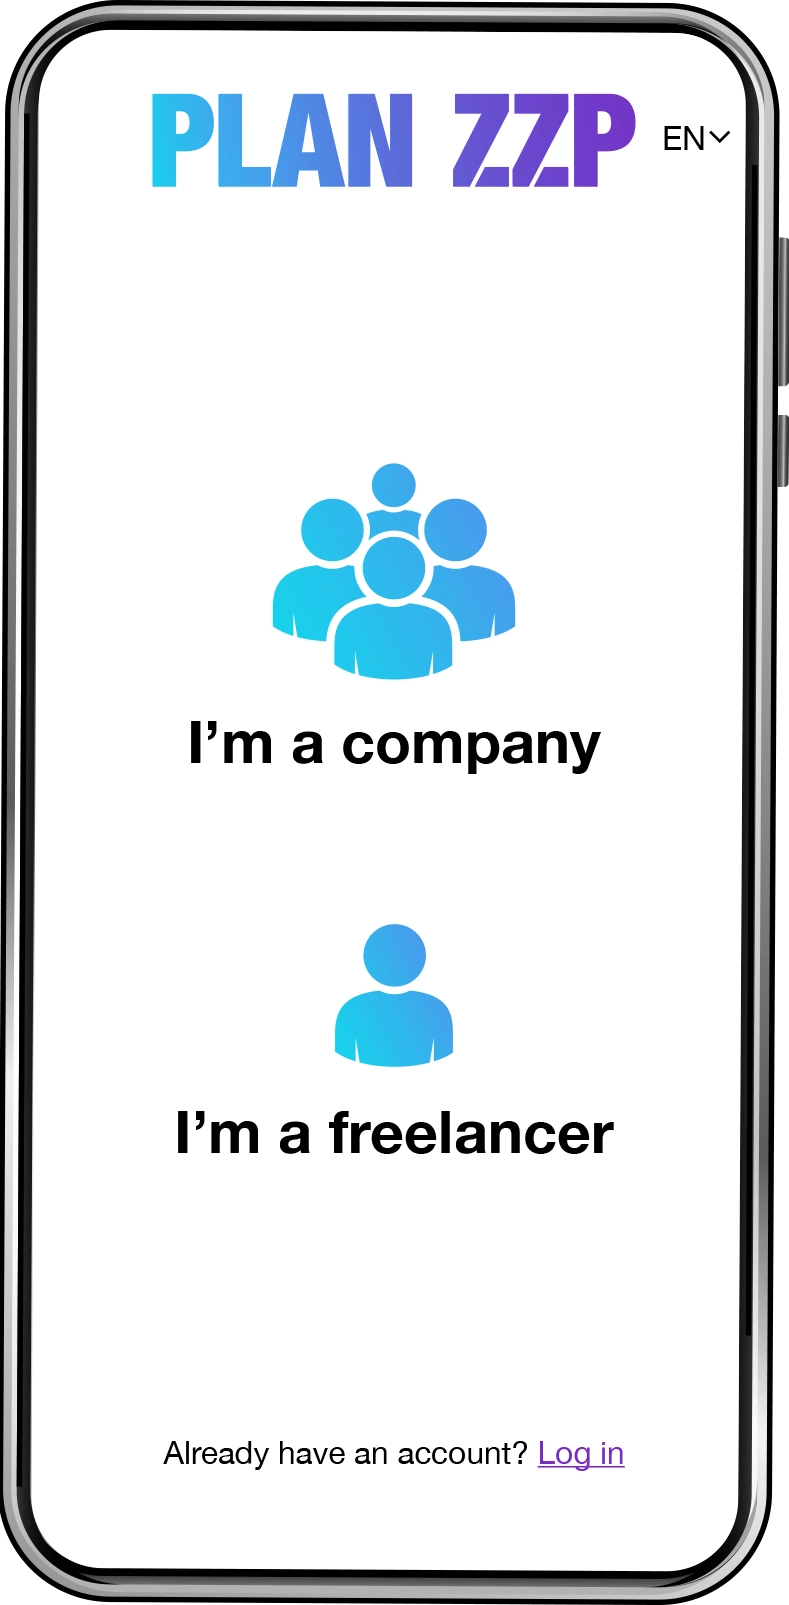
Download the PLAN ZZP app from the App Store or Google Play Store. After installation, open the app on your smartphone and select “I am a company” on the start screen.tore.
PS. The PLAN ZZP app is available in English, Dutch and Polish. Choose your preferred language via the dropdown menu next to the logo.

2. Register account
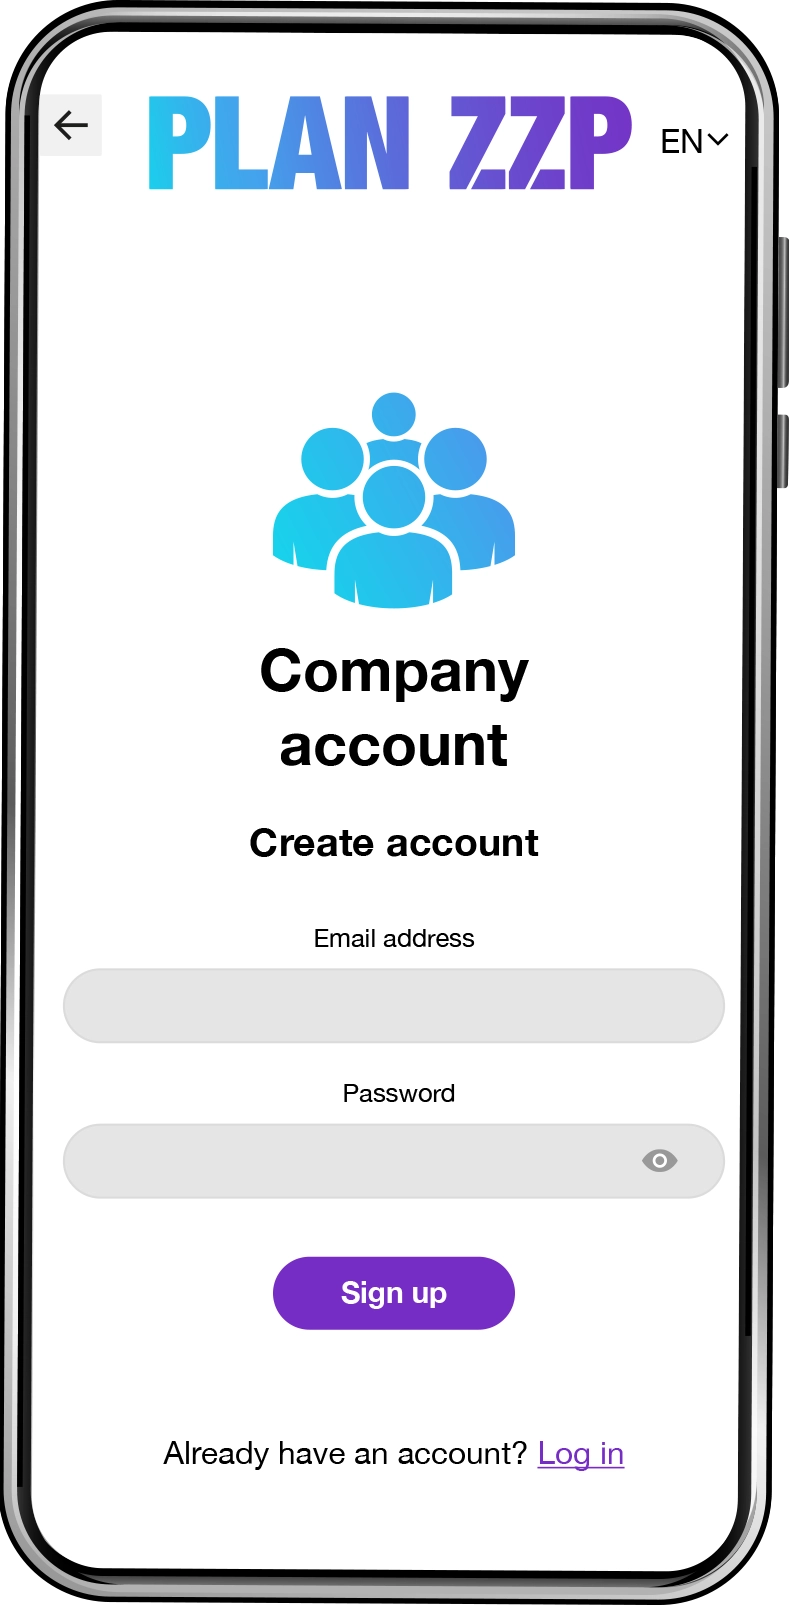
Set up your business account by providing your email address and creating a password.
Please note that your password must be at least eight characters long and include at least one uppercase letter, one lowercase letter, and one number.
Next, click Sign up to create your account and proceed to the next screen.
Note: To confirm your email address, you will receive an email from the PLAN ZZP app with a confirmation link.
For the app to work properly and securely, you must verify your email address. If you do not verify your email address, you will be logged out automatically after logging in.
3. Log in
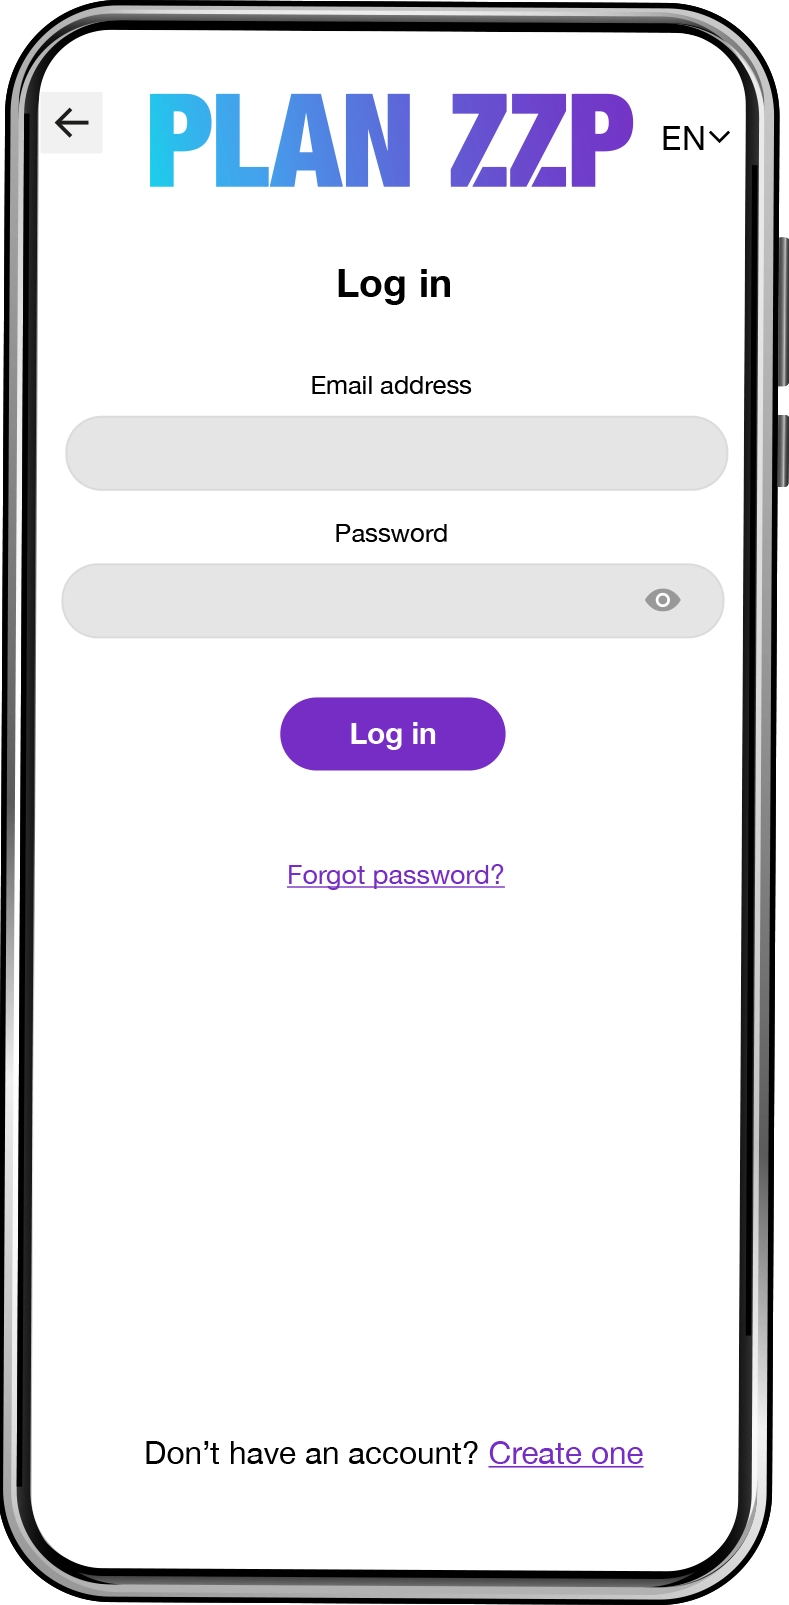
Once you’ve created your account you’ll see the login screen.
Enter your email address and password to log in.
If you forget your password? Click ‘Forgot password?’ and create a new one.
4. Forgot password
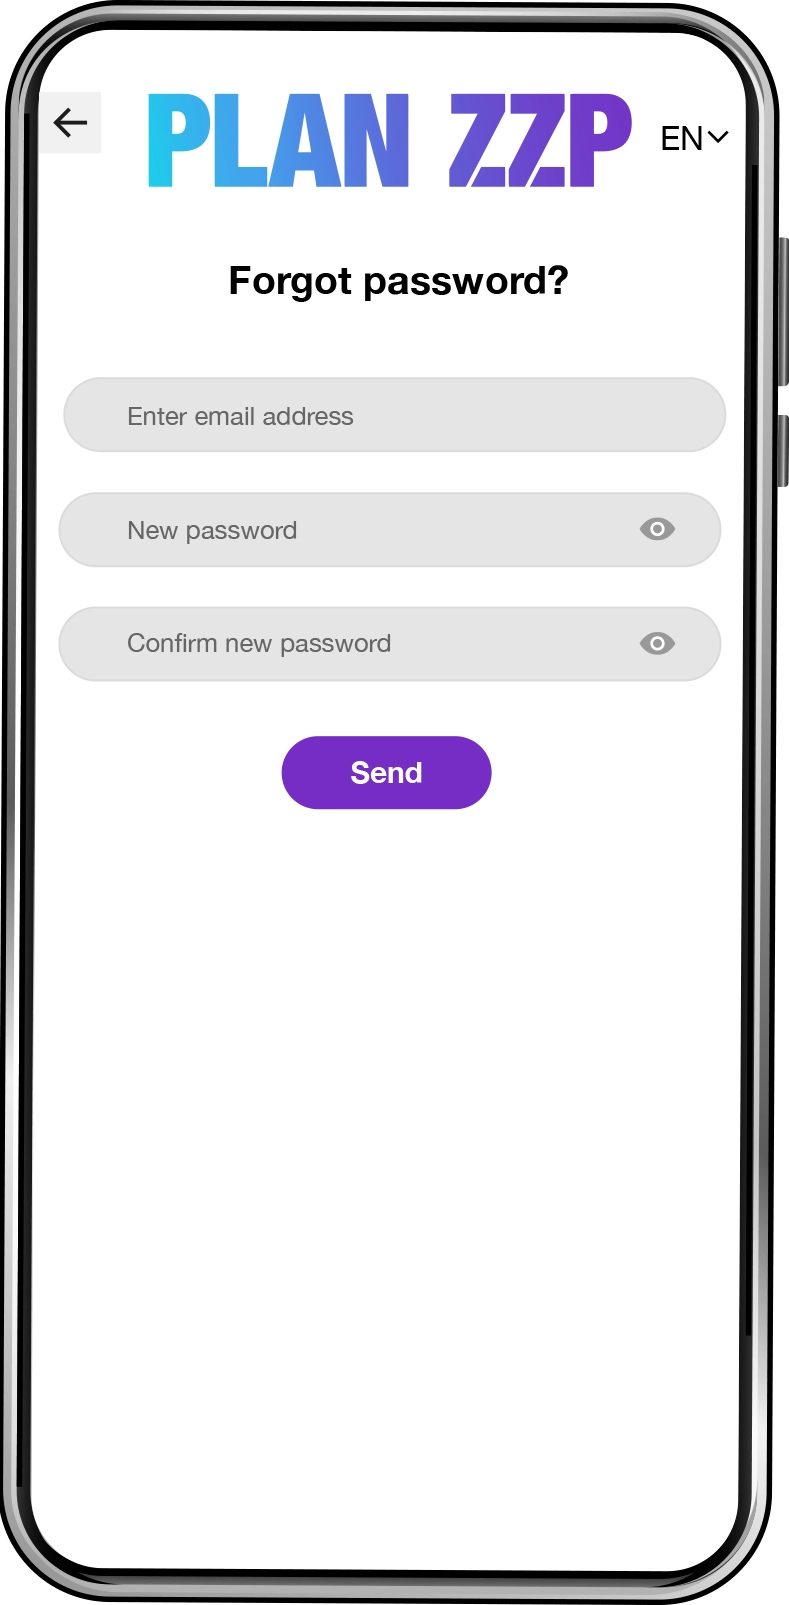
Open the app and go to the login screen. Click “Forgot password?”.
Enter the email address that was used to create your account.Enter your new password and repeat it to confirm.
Enter your new password and repeat it to confirm.
Note: To activate your new password, you will receive an email with a link from PLAN ZZP (service@planzzp.com). Click the link to confirm your request, then return to the login screen and sign in with your new password.
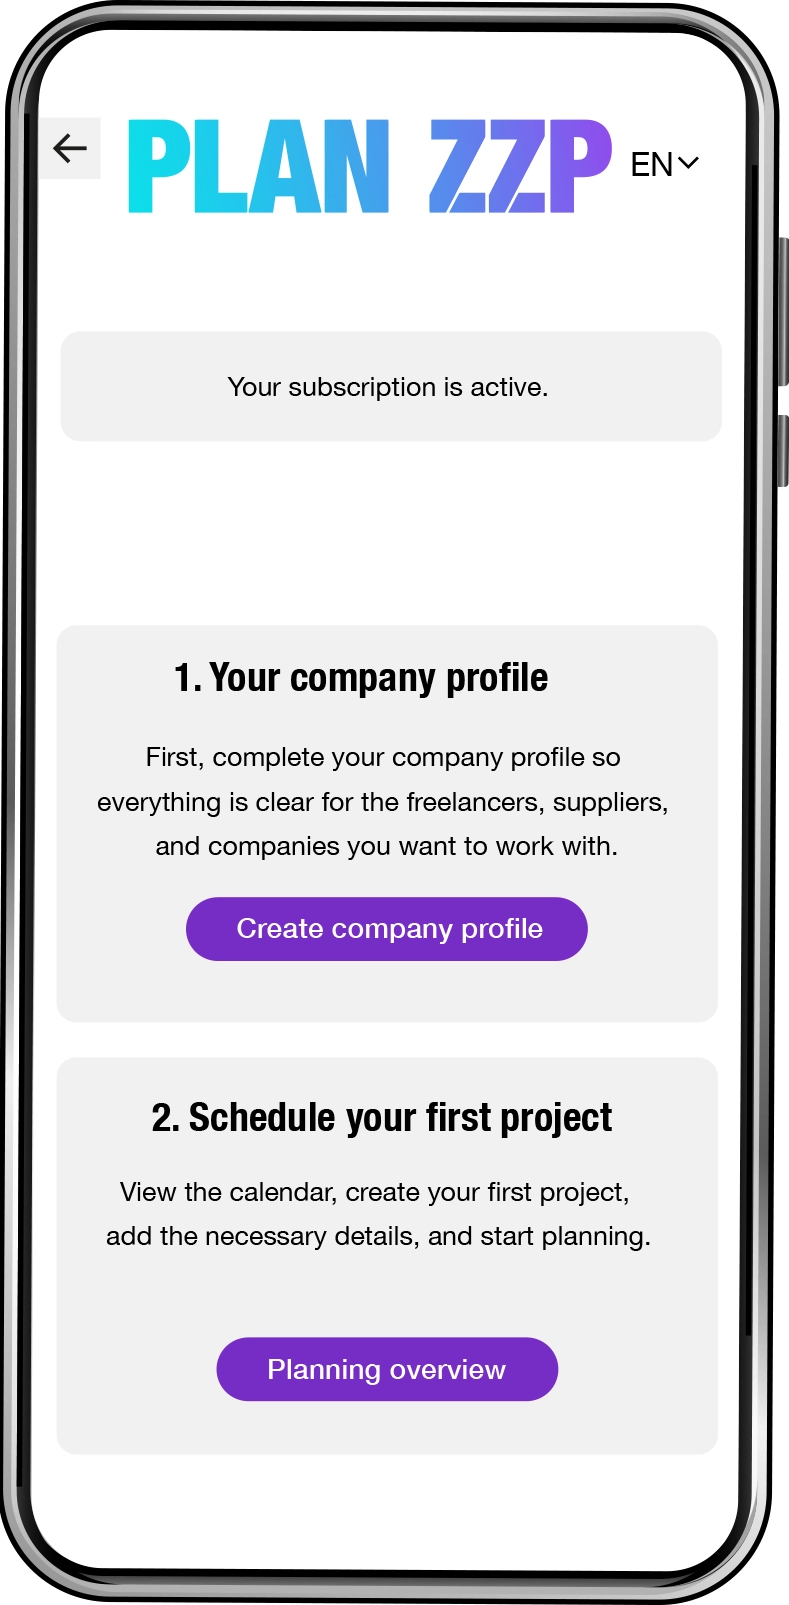
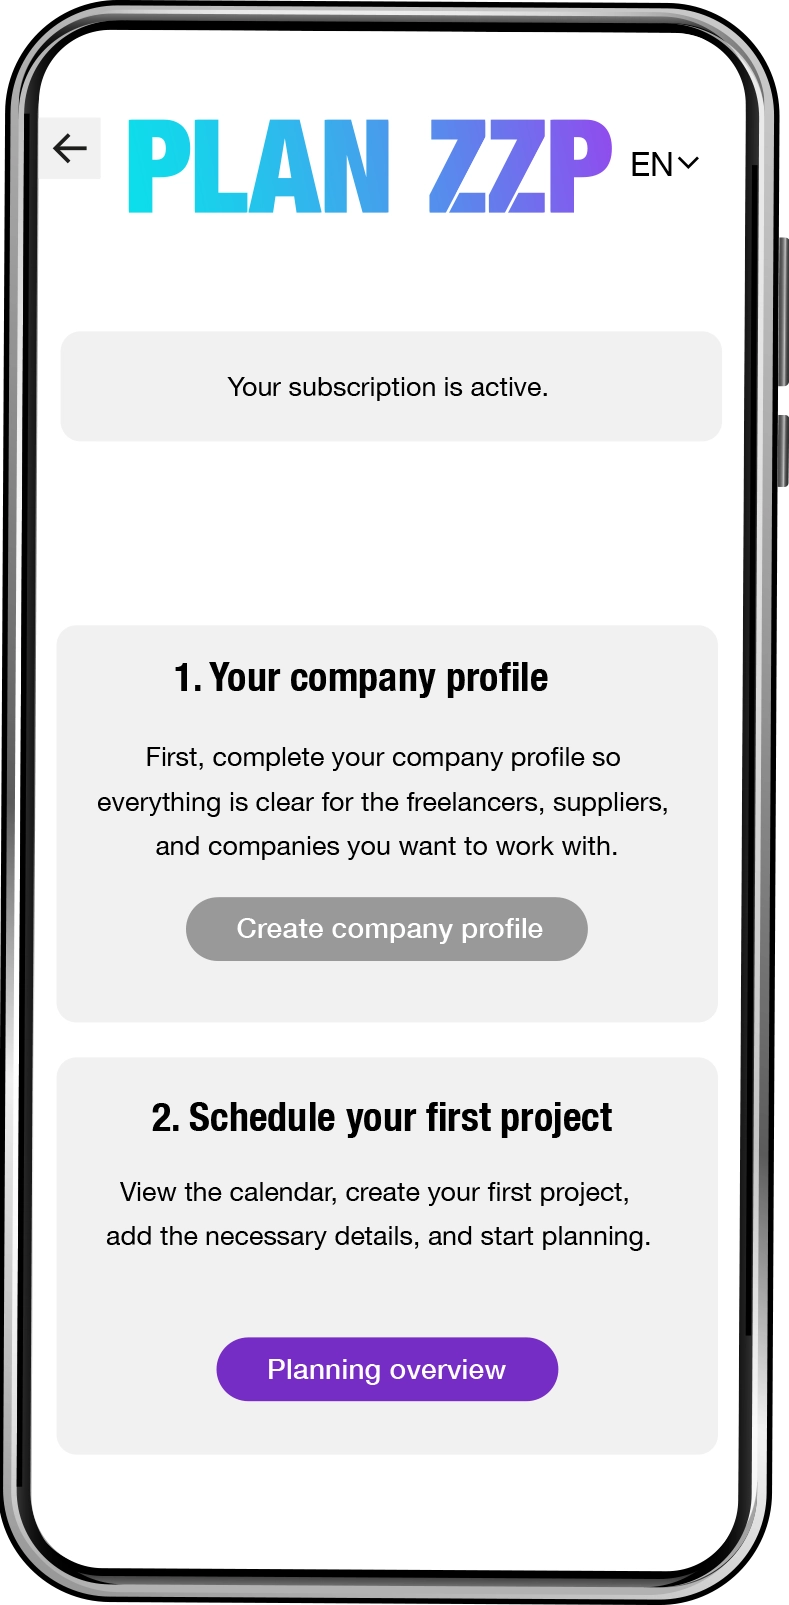
5. Try for free
In just three steps you’ll plan your first project.
Step 1. Activate your subscription—you have two options: start a 30-day free trial, or, if you’re already familiar with the PLAN ZZP app, activate the business subscription here.
Step 2. Complete your business profile once so that everything’s clear for the clients, freelancers and suppliers you’re already working with or those you intend to work with. Click the Create business profile button (see also the next step, “Create business profile”).
Step 3. Once your profile is set up, go to the planning calendar and create your first project there. Click the Planning calendar button (see also Step 8, “Schedule projects”).


6. Create your business profile
To complete your business profile, please fill in the following information once:
• Company name *
• Registered address *
• Postal code *
• City *
• Primary contact person *
• City
• Phone number *
• Email address *
• Chamber of Commerce (KvK) number *
• Website
• Industry *
• VAT number *
• Financial contact person *
• Financial contact person’s phone number *
• Financial contact person’s email address *
• Bank account number *
VCA certificate number
VCA certificate expiry date
Business profile public or private
Profile photo
VCA company certificate photo
Fields marked with * are required.After clicking Save, you will automatically return to the home screen.
7. Profile saved
Your business profile has now been saved. You can proceed with creating your first projects in the Planning calendar.
Click the Planning calendar button.
Note: If you want to make any changes to your business profile in the future, click the gear icon next to your company name under the PLAN ZZP logo.

8. Planning calendar
You are now in the Planning calendar. Click the large purple + button. In the calendar, select the start and end date for your project.
In the project details window, fill in:
• Project number (automatically generated)
• Project title
• Start and end dates
• Start and end times
• Project location details
• Short project description
When you’ve entered all the information, click Save. To create another project, click the + again and select a new start and end date.
Note: To add a more detailed project description later, open the project from your project list (icon with 3 dots and 3 lines).
9. Managing multiple projects
If you have projects with overlapping dates, you’ll see multiple colored bars under that date in the calendar. Click on a day with multiple projects to display a list of those projects below the calendar.
Clicking the gray project bar opens the project's basic settings, just like when you first create a project.
Clicking the black eye icon opens the detailed view with all project information.
Clicking the blue clock icon opens the time-tracking window for every team member involved in that project.


10. Project list
Besides managing projects via the calendar, you can also use the project list. Open the project list by clicking the black icon with three dots and three lines in the bottom-left corner. To view or edit a project, click the black eye icon to the right of its name (see 11. Completing project details).
Archiving or deleting
We recommend archiving any projects you want to remove from your active list. The project will move to the “Archived projects” list so you retain all its data. If you delete a project from the archive, the project and all associated data are permanently lost and cannot be restored.
11. Completing project details
Via the project list you can add additional details to your projects. The complete project information then includes:
• Project name
• Company name and project number
• Execution date
• Execution time
• Project location address
• Project status
• Client
• Project deadline
• Short project description
• Detailed project description
• Project tasks
• Technical drawing or photo
• Assigned employees
• Assigned freelancers


12. ZZP'ers selecteren
Om ZZP'ers aan een project toe te voegen opent u eerst het betreffende project in de kalenderomgeving en klikt u op het paarse icoon met personen. Klik vervolgens op het kleine paarse plusje onderaan het venster om de lijst met beschikbare ZZP'ers voor de opgegeven projectperiode te openen.
Wilt u details van een ZZP'er bekijken? Klik dan op het zwarte oogje naast de naam.
U kunt meerdere ZZP'ers tegelijk selecteren uit deze lijst. Na het opslaan worden de geselecteerde ZZP'ers toegevoegd aan het projectvenster. Klik daarna op de blauwe knop om de aanvraag direct naar deze ZZP'ers te versturen.
Om ZZP'ers gemakkelijker te vinden kunt u gebruikmaken van twee handige filters in de lijst:
1. Gelinkte ZZP'ers: ZZP'ers die in de app al gekoppeld zijn aan uw bedrijf (klik hiervoor op het groene deelsymbool bovenaan het venster).
2. Gekende ZZP'ers: ZZP'ers die eerder een opdracht succesvol hebben uitgevoerd (klik hiervoor op de gele ster).
Klik vervolgens op het blauwe potlood-icoon om terug te keren naar de opdrachtgegevens, en bevestig uw wijzigingen met de knop 'Update'.
13. Linken met ZZP'ers
Met de QR-code scanner in de PLAN ZZP app linkt u snel en eenvoudig met ZZP’ers op locatie. Open de app op beide smartphones, tik op het QR-code icoon en scan de code om een linkverzoek te versturen. De ander accepteert dit verzoek met 1 klik op ‘verzoek accepteren’.
Niet op locatie, maar toch een ZZP’er toevoegen? Vraag dan het bedrijfs-ID# van de ZZP’er op, vul dit in en klik op de blauwe knop ‘link’ om de koppeling te maken.
