
Guide for freelancers
Do you work closely with freelancers? Choose a streamlined workflow with the PLAN ZZP app. In just a few minutes, we’ll show you step by step how the app takes work off your hands.
Not downloaded yet? Use the buttons below or search for “PLAN ZZP” in the App Store or Play Store.
1. Account selection
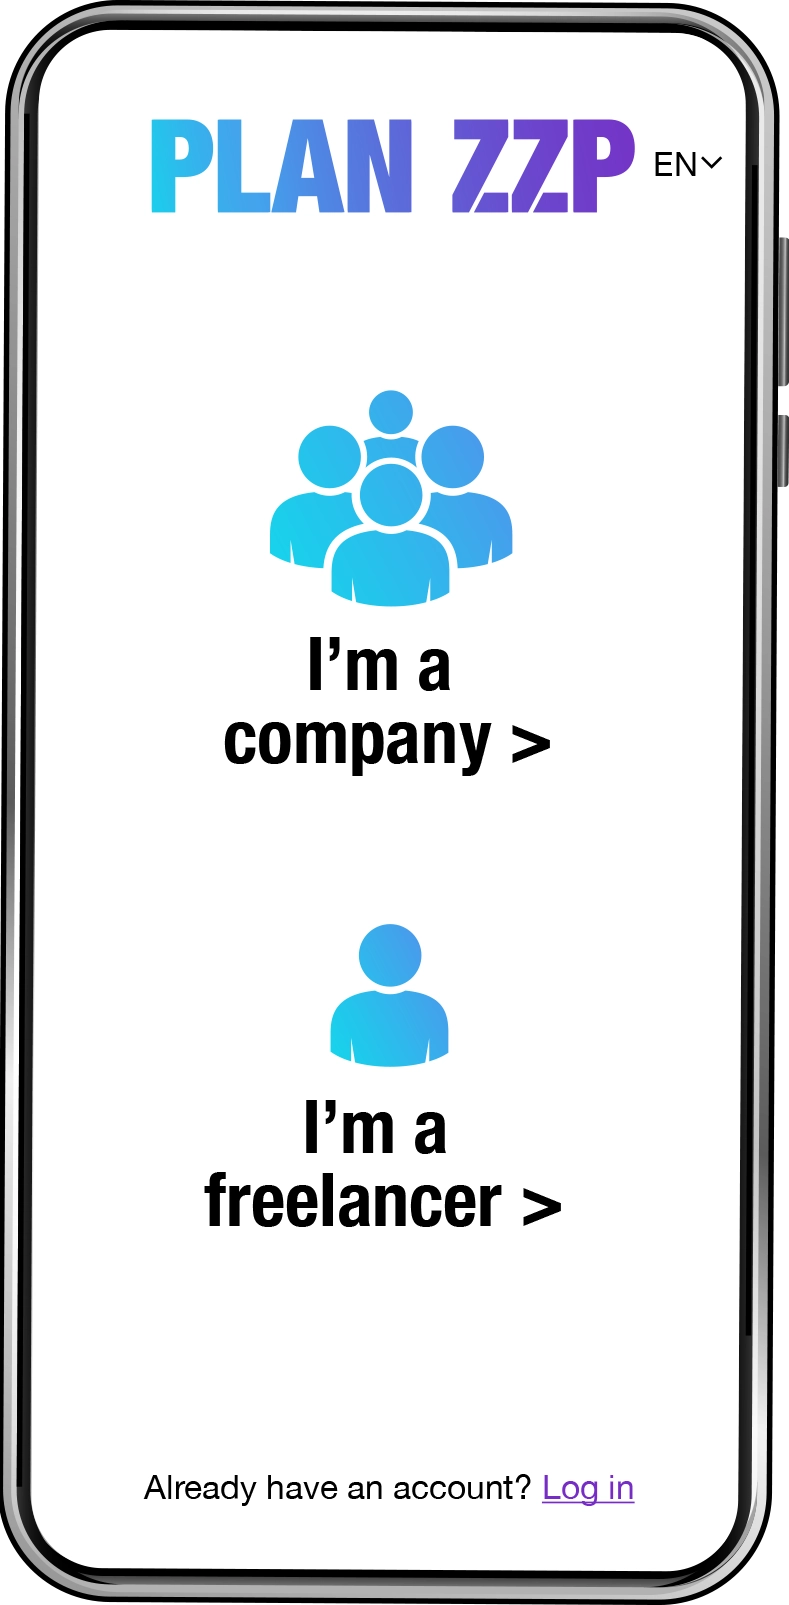
Download the PLAN ZZP app, open it, and select “I’m a freelancer” on the start screen.
Representing a company? Then choose “I’m a company” and refer to the company user guide. The PLAN ZZP app is available in English, Dutch, and Polish. Select your preferred language using the dropdown menu next to the logo.

2. Create account
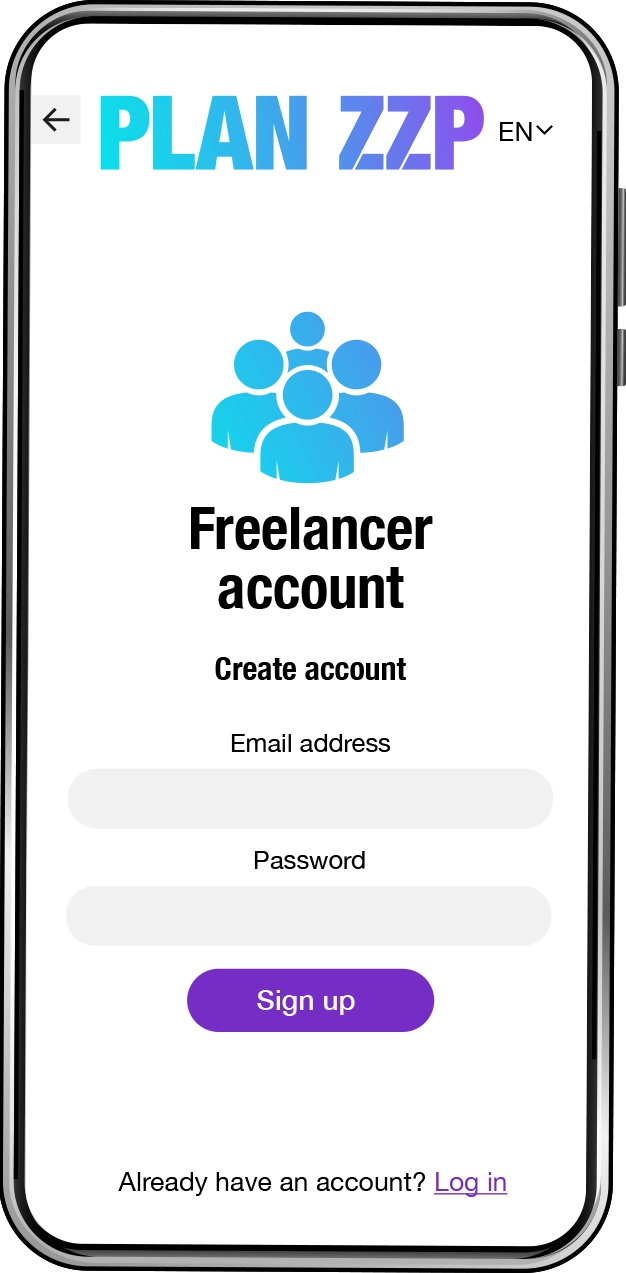
Create a freelancer account using your email address and a password.
Your password must be at least 8 characters long and include an uppercase letter, a lowercase letter, and a number.
Click “Sign up” to create your account. You’ll receive an email from service@planzzp.com with a confirmation link.
Verify your email address to use the app properly and securely.
Note: If you don’t verify your email address, you’ll be automatically logged out after signing in.
3. Log in
Activate your account in just 2 steps.
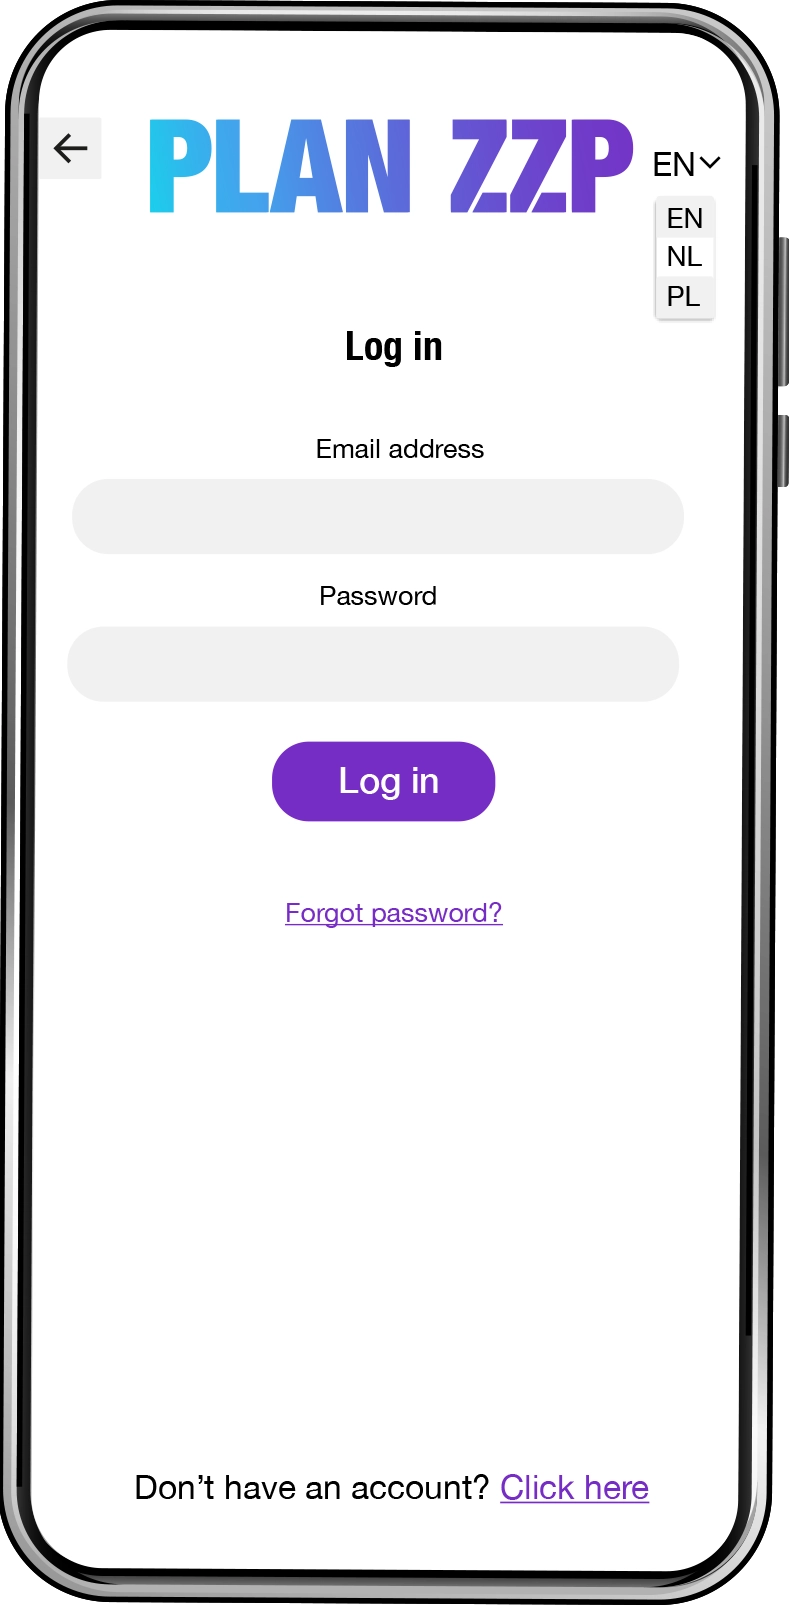
After creating your account and confirming your email address, the login screen will appear.
Log in using your email address and password.
Forgot your password? Click on “Forgot password?” and follow step 4 to create a new one. Your data will remain safe when you reset your password.
4. Forgot password
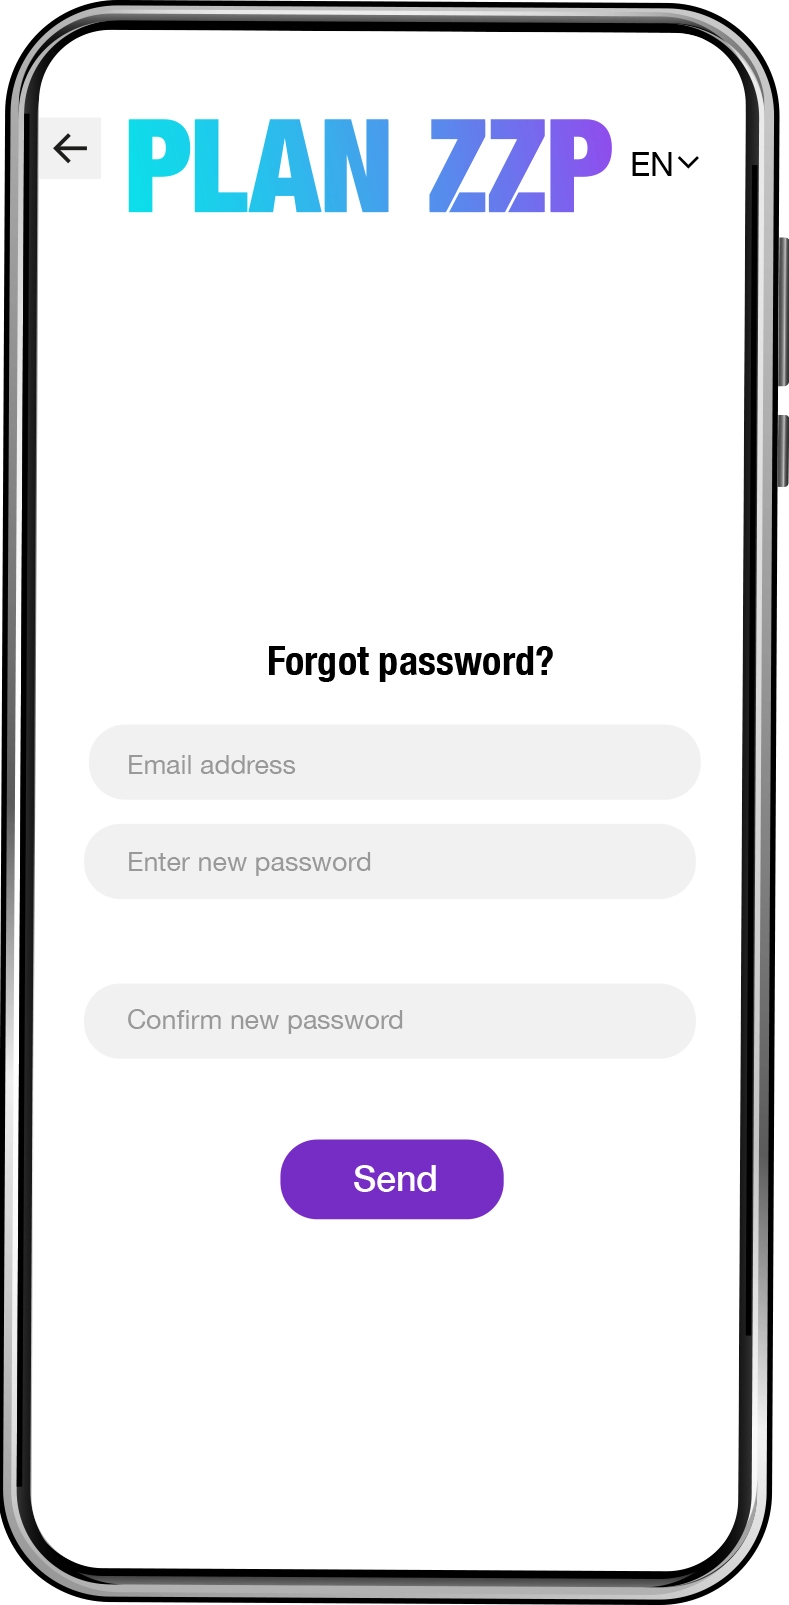
Open the app and go to the login screen. Click on “Forgot password?”.
Enter the email address you used to create your account. Then enter your new password and confirm it by typing it again.
Important: To activate your new password, you’ll receive an email from service@planzzp.com with a link from the PLAN ZZP app. Click the link to confirm, then return to the login screen to sign in again.
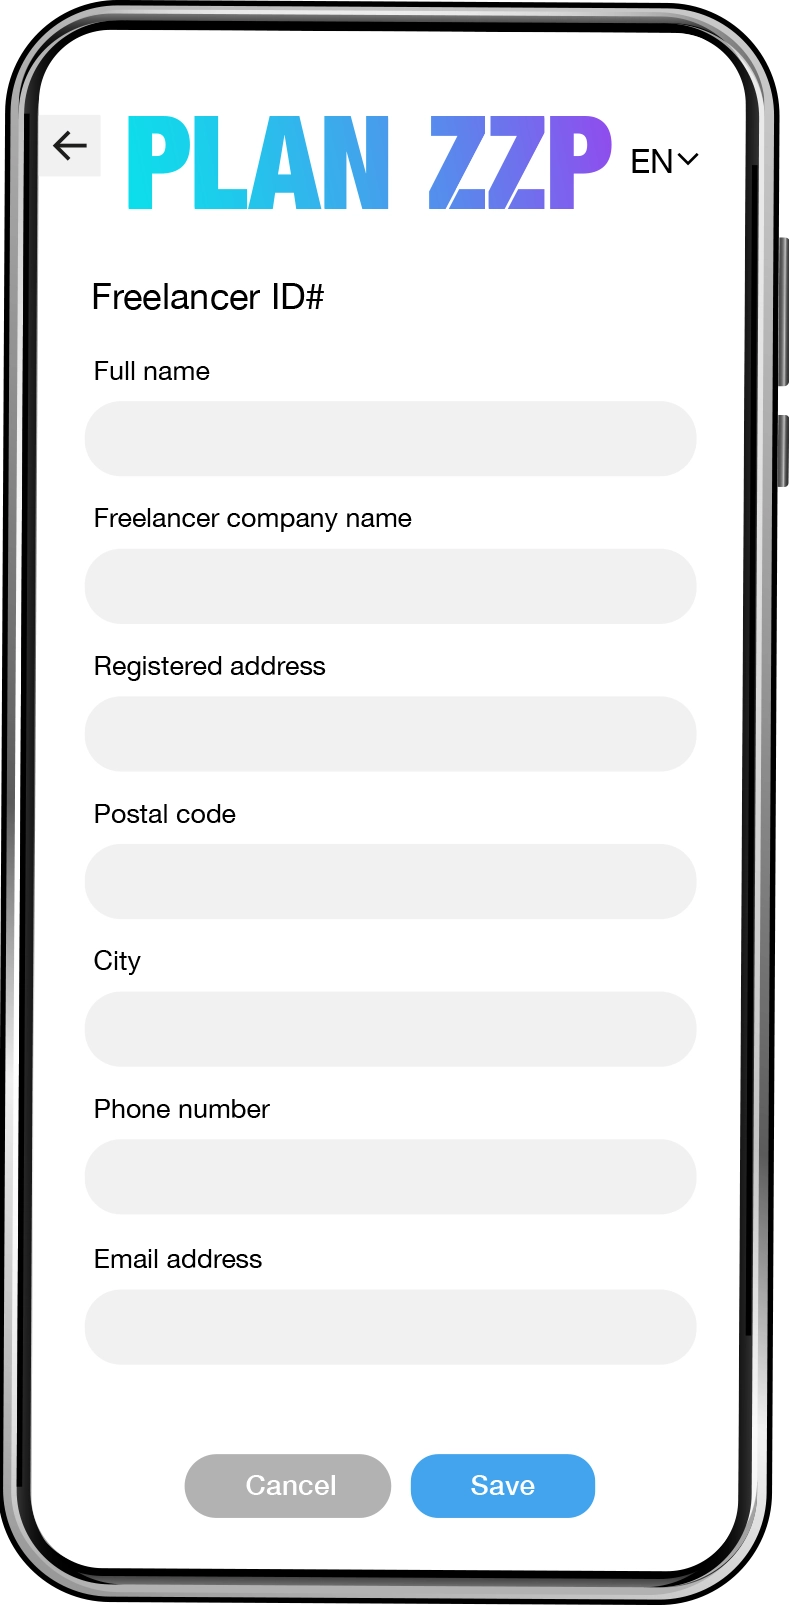
5. Create your profile
To complete your profile, please fill in the following details once:
• First and last name *
• Freelancer company name *
• Registered address *
• Postal code *
• City *
• Phone number *
• Hourly rate *
• Chamber of Commerce (KvK) number *
• Insurance details
• VAT number *
• Skills *
• Years of experience *
• Bank account number *
• VCA certificate number
• VCA certificate expiry date
• I have my own work van
• I use my own tools
• I have more than 3 clients
• I would like to promote my business
• VOG document photo
• VCA certificate photo
• Profile photo
Fields marked with * are mandatory.
After clicking “Save”, you’ll automatically return to the welcome screen.
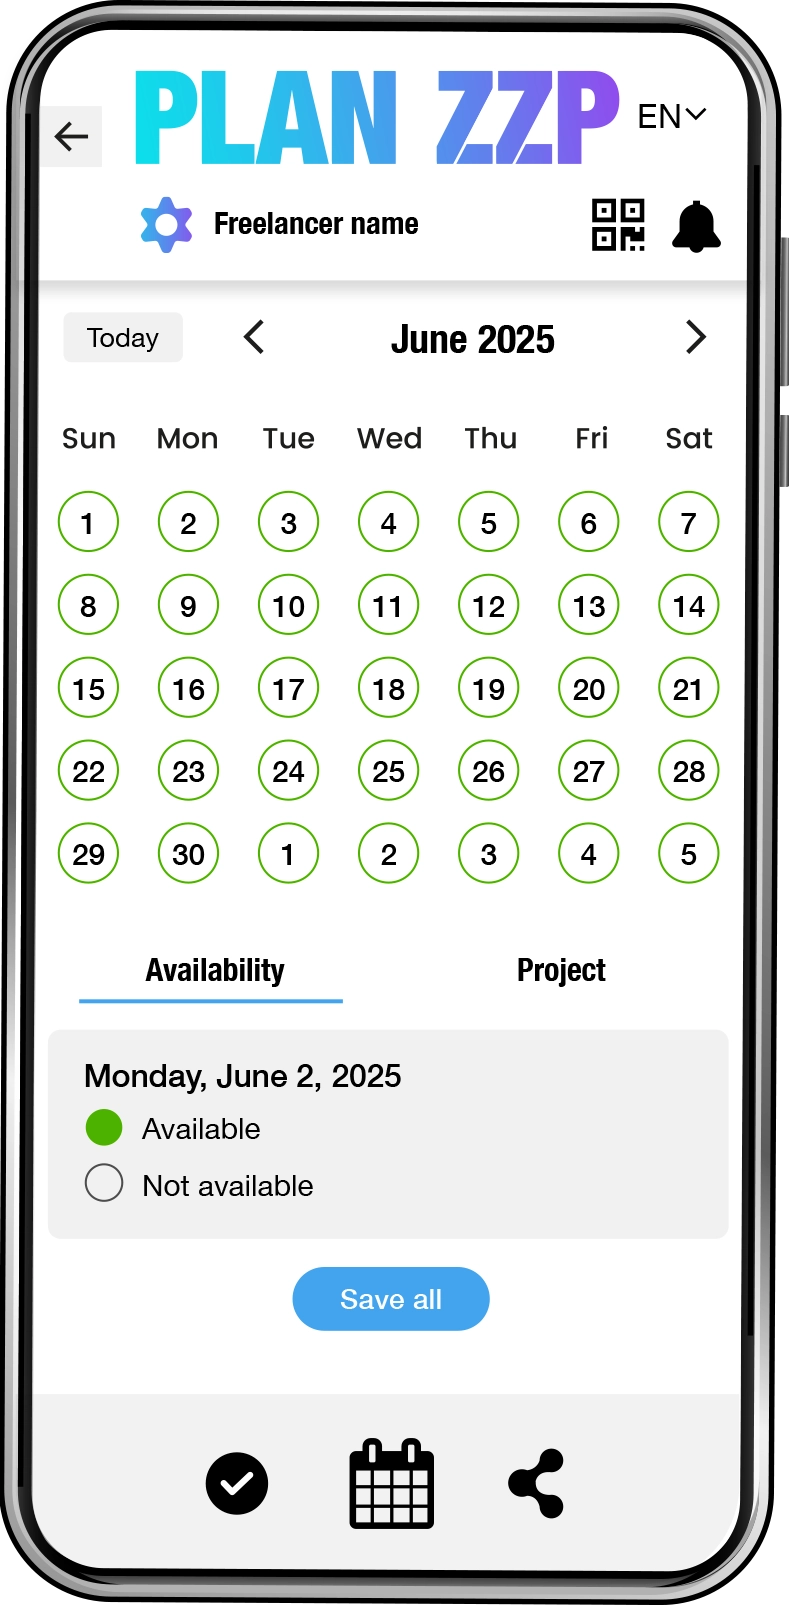
6. Availability
Go to the calendar screen and click on the Availability tab. Tap a date to mark that day as available or unavailable.
Use the arrows in the window to scroll through the days of the month. Finished making changes?
Click Save all to save your availability all at once.
7. Received requests
When you tap the black checkmark icon in the menu at the bottom of the screen, a list of requests will appear. Tap the black eye icon to see the details of the job.
If you tap the (blue) client’s name, you’ll also see the client’s details.
Click the I’m available button to add the request to your selected requests. The client will receive a notification that you are available.
A selected request is not yet a confirmed job. You will receive a response from the client, and once all details are clear, you will receive a project contract. The contract can be easily signed digitally.
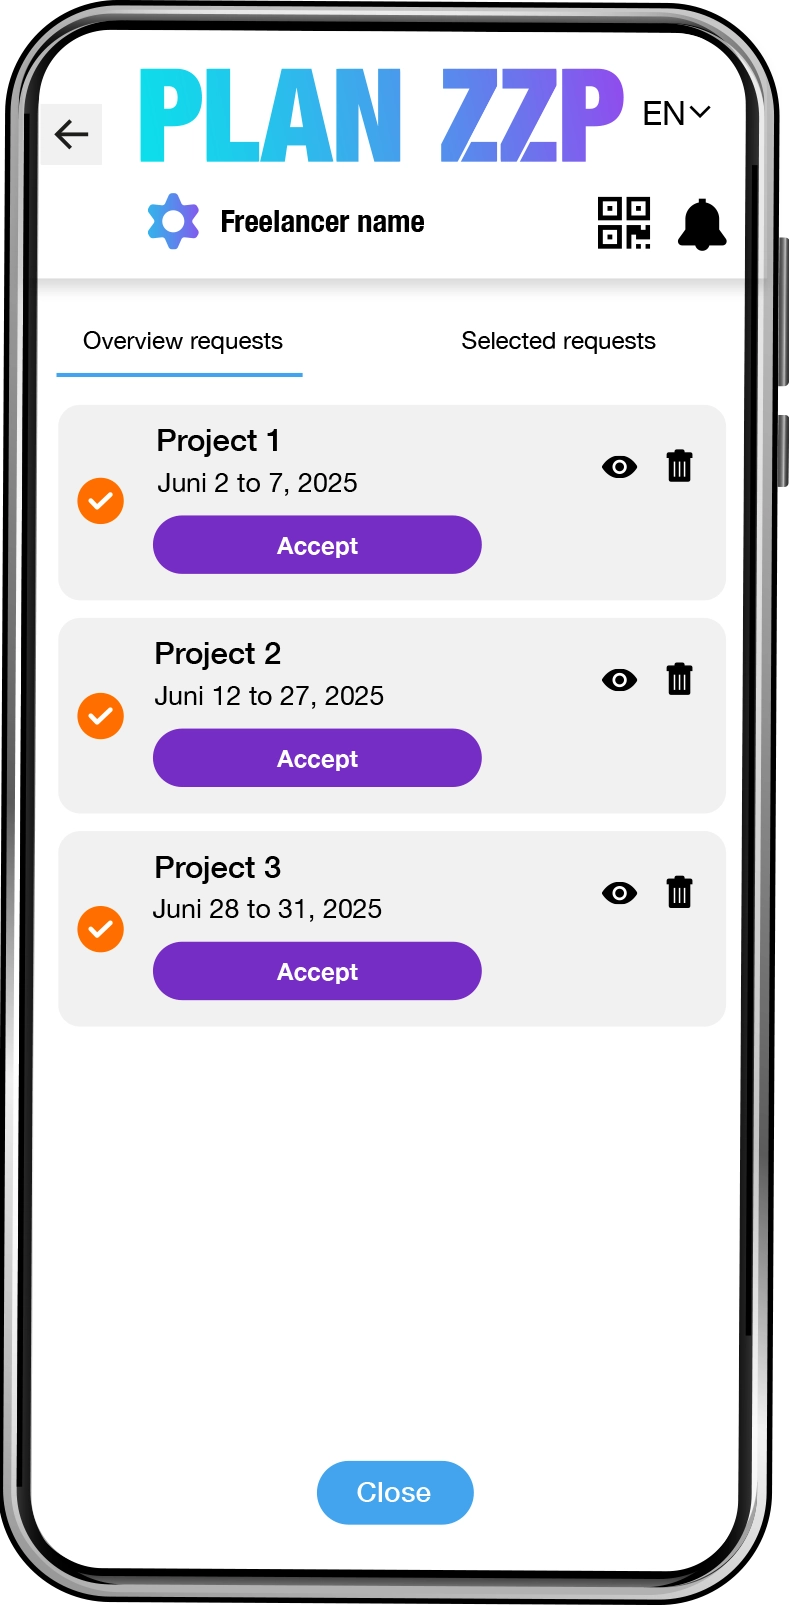

8. Selected requests
To view your selected jobs, click the text at the top of the screen. The list shows jobs with the status Job approved or Pending approval.
Click the black eye icon to see the job details, including the days and times the job can be performed and the location. You’ll also find client details such as contact person, address, city, postal code, phone number, email, Chamber of Commerce (KvK) number, and VAT number.
If the request is approved, you can log your hours by clicking the black clock icon.
Approved jobs cannot be removed from the list due to time tracking requirements.
9. Link verzoeken
You can receive link requests in the PLAN ZZP app. These are indicated by a red circle above the link icon in the bottom right corner of the screen.
Tap the link icon to see all link requests from companies. Click the black eye icon to view the company details.
At the top of the screen, tap Active connections to see a list of all linked companies. To remove a link request or linked freelancer from the list, click the black trash can icon.
Note: You will only receive link requests if you have set your profile to public for companies.
